Installing roof shingles may seem straightforward at first glance, but as any experienced homeowner or contractor knows, there’s more to it than simply nailing pieces to your roof. The process requires careful preparation, the right tools, and an understanding of how different materials behave under weather conditions. Whether you’re tackling a DIY project or supervising a professional installation, knowing the ins and outs of fitting roof shingles ensures your roof will be durable, safe, and aesthetically pleasing.
In this guide, we’ll walk you through essential steps for roof shingle installation, share practical tips, and highlight common mistakes to avoid. I’ll also include a real-life case study to give you a firsthand look at how these techniques work in practice.
Content
Why Proper Roof Shingle Installation Matters
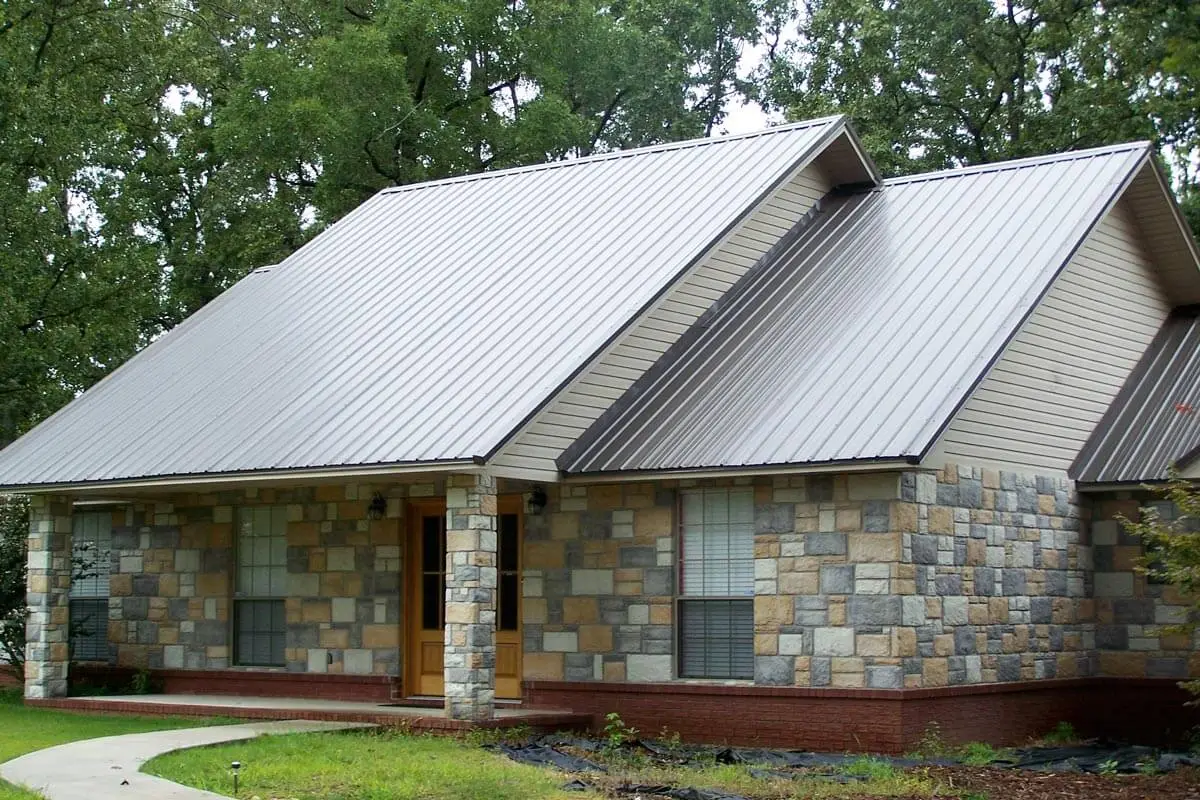
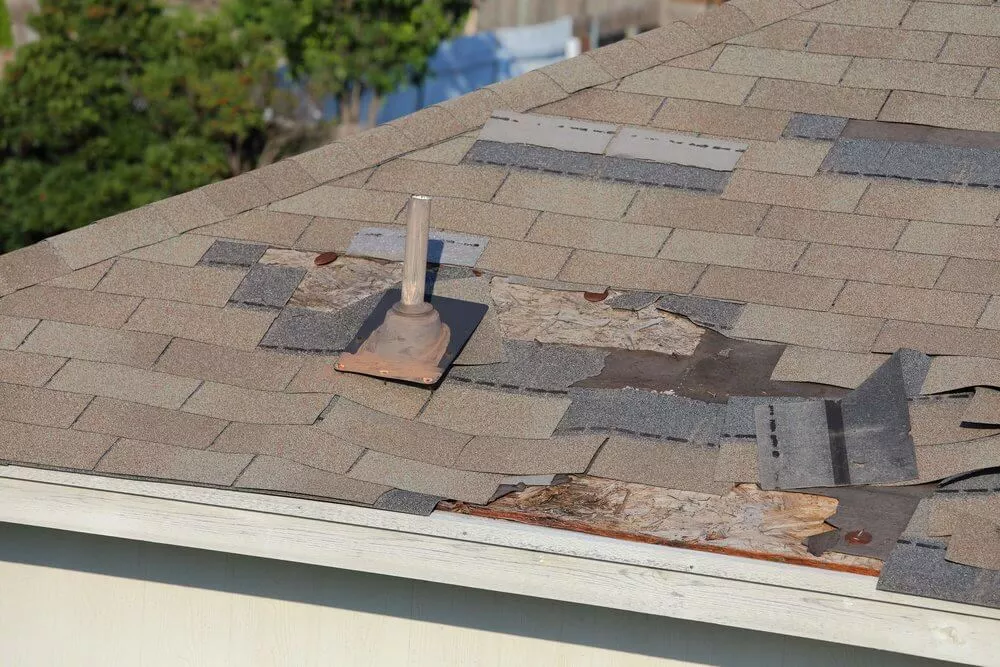
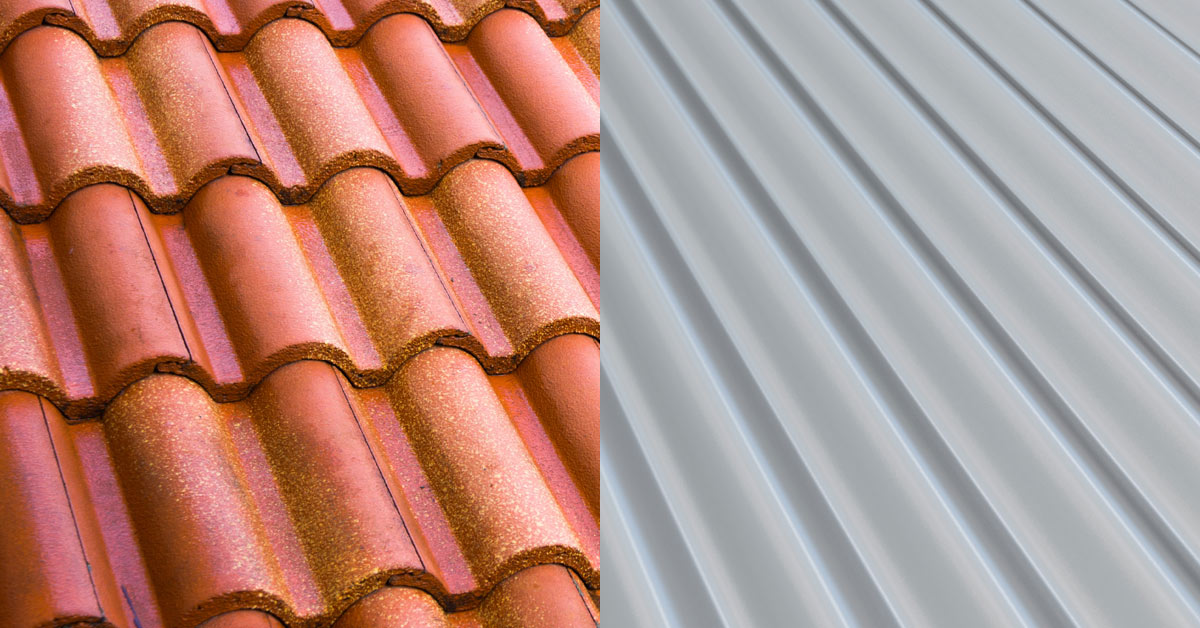
The quality of your fitting roof shingles installation has a direct impact on your home’s durability and energy efficiency. Poorly fitted shingles can cause water leaks, roof damage, and expensive repairs, while proper installation enhances curb appeal and boosts overall value. Many homeowners underestimate the importance of following installation guidelines, but doing it right always pays off. Whether you’re using asphalt, metal, or composite shingles, working with an experienced roofing contractor and understanding the shingle installation process is key to long-term success.
Tools and Materials Needed for Fitting Roof Shingles
Before you begin, make sure you have the right tools and materials on hand:
- Hammer or roofing nailer
- Roofing nails
- Measuring tape
- Utility knife
- Roofing underlayment
- Chalk line
- Ladder or scaffolding
- Safety harness
Having all these tools prepared before starting ensures a smoother workflow and reduces the risk of mistakes.
Always check your local building codes. Certain areas may have specific requirements for roof shingle installation, especially in regions prone to heavy rain or snow.
Step-by-Step Guide: How to Fit Roof Shingles
1. Preparing the Roof
Preparation is the foundation of a successful installation. Start by inspecting the roof deck for damage or rot. Replace any compromised wood to create a solid base. Lay down a quality roofing underlayment to provide an extra layer of protection against moisture.
Always wear a harness and ensure your ladder is stable. Roof work can be hazardous without proper precautions.
2. Removing Old Shingles (If Applicable)
If you’re replacing an existing roof, start by carefully removing old shingles with a roofing fork or shovel. Be sure to clear away all debris to avoid obstacles during the new installation. When it comes to metal roofing or shingles, skipping this step is a common mistake that can compromise the durability and lifespan of your new roof.
3. Installing Underlayment and Flashing
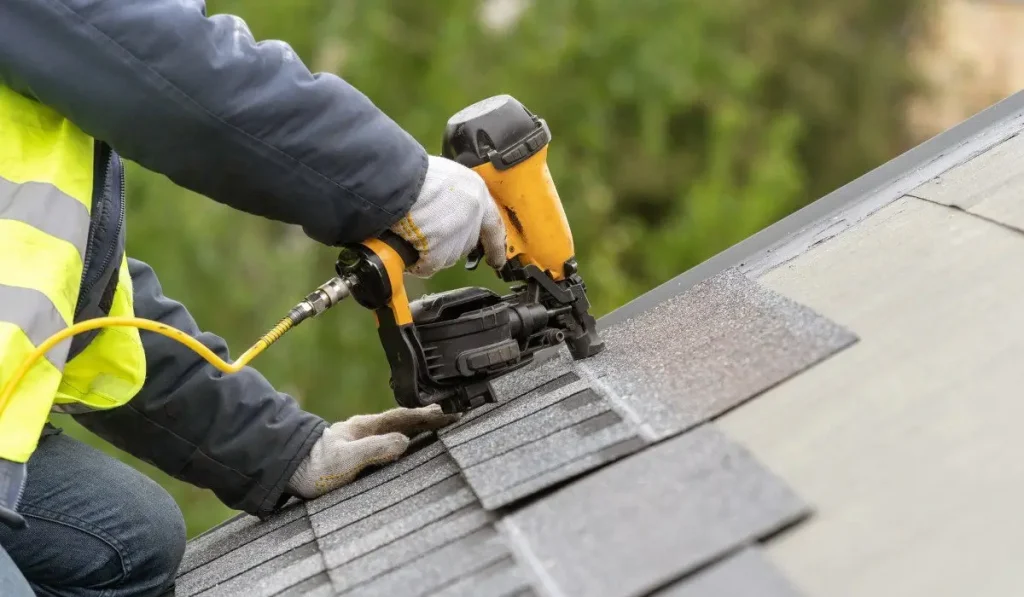
The underlayment acts as a moisture barrier. Apply it evenly, making sure to overlap edges. Install flashing around chimneys, vents, and valleys to prevent leaks.
Use asphalt plastic cement under the overlaps for added waterproofing.This step is critical in roof shingle installation tips for long-lasting results.
4. Laying the Shingles
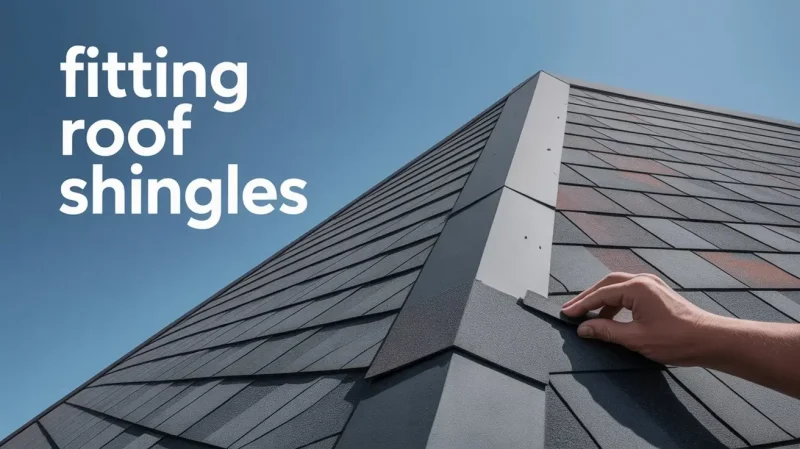
Start at the bottom edge of the roof and work your way upward. Overlap each shingle properly according to manufacturer guidelines. For asphalt shingles, a typical overlap is about 6 inches (150 mm). Cut shingles to fit edges and corners, ensuring a uniform, professional appearance.
How to fit roof shingles, proper alignment and overlap are key to preventing wind uplift and water penetration.
5. Sealing and Finishing Touches
Once all shingles are in place, check for gaps, exposed nails, or misaligned pieces. Apply roofing cement to seal vulnerable areas. Finally, inspect the roof from different angles to ensure everything is even and secure.
Real-Life Case Study: DIY Roof Shingle Installation
A few years ago, I helped a family renovate their summer cabin, which had worn-out asphalt shingles. They wanted a DIY solution to save on labor costs. We followed a detailed step-by-step approach:
- Preparation: Replaced a few rotten roof boards and installed underlayment.
- Shingle Installation: Started from the bottom and meticulously overlapped each piece.
- Finishing: Applied flashing around the chimney and used roofing cement for exposed areas.
The result? A roof that not only looked professional but also withstood heavy rainstorms without leaks. The family was thrilled to see their cabin transformed while learning valuable DIY roof shingles skills along the way.
Common Mistakes to Avoid
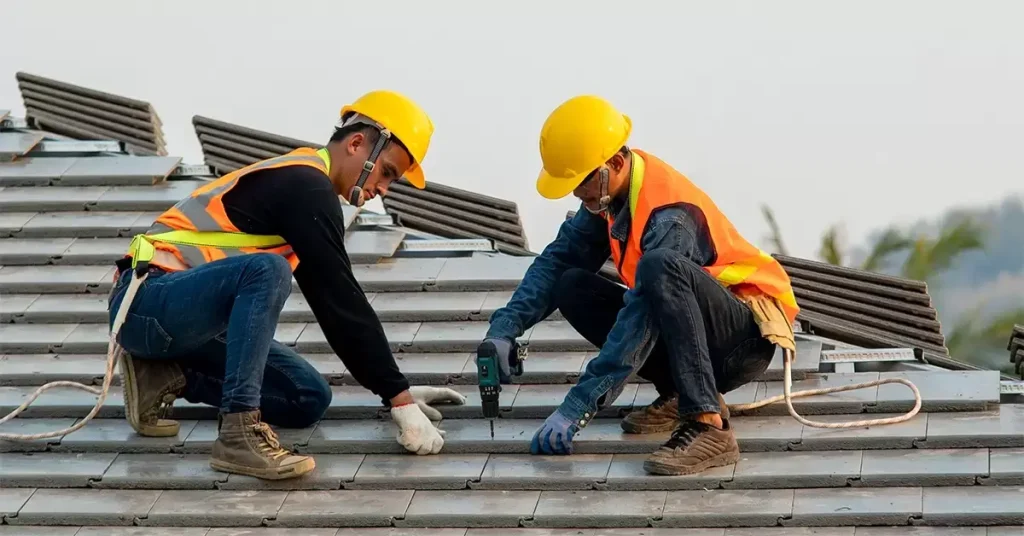
Even with proper tools and guidance, mistakes happen. Here are the most frequent errors:
- Skipping roof deck inspection before installation
- Improper overlap of shingles
- Using the wrong type of nails or spacing
- Neglecting flashing installation
- Ignoring safety precautions
Avoiding these pitfalls ensures a longer-lasting roof and a smoother installation process.
Maintenance Tips After Fitting Roof Shingles
To keep your roof in top condition:
- Inspect your roof annually for damage or loose shingles
- Clean debris like leaves and branches regularly
- Address minor repairs immediately to prevent bigger issues
- Keep gutters clean to avoid water pooling on the roof
Following these roof shingle maintenance tips will extend the lifespan of your installation and maintain your home’s value.
Conclusion:
Fitting roof shingles is more than a cosmetic upgrade; it’s an investment in your home’s safety, efficiency, and longevity. By following a structured process, using the right tools, and paying attention to common mistakes, anyone can achieve a durable, attractive roof.
Whether you’re a seasoned DIYer or supervising a professional installation, understanding how to fit roof shingles and incorporating best practices ensures your roof will protect your home for years to come. Remember, preparation, precision, and maintenance are key to a successful roofing project.
FAQs About Fitting Roof Shingles:
Q1: Do you nail or glue shingles?
Most shingles are nailed, but adhesive or roofing cement is used on overlaps or high-wind areas for extra hold.
Q2: What is the proper way to install roof shingles?
Follow manufacturer instructions: lay underlayment, start from the bottom, overlap shingles, and seal edges correctly.
Q3: How to properly measure a roof for shingles?
Measure roof length × width for total area, account for pitch, and add 10–15% extra for waste and cuts.
Q4: What is the proper stagger for shingles?
Stagger each row so seams don’t align vertically; typical offset is 6 inches for asphalt shingles.

Viola Moore is a dedicated home improvement blog author who has a passion for writing. She enjoys blogging about all sorts of topics, from interior design to landscaping and more! She loves the outdoors and spending time in nature with her family. She also likes to bake in her free time.

