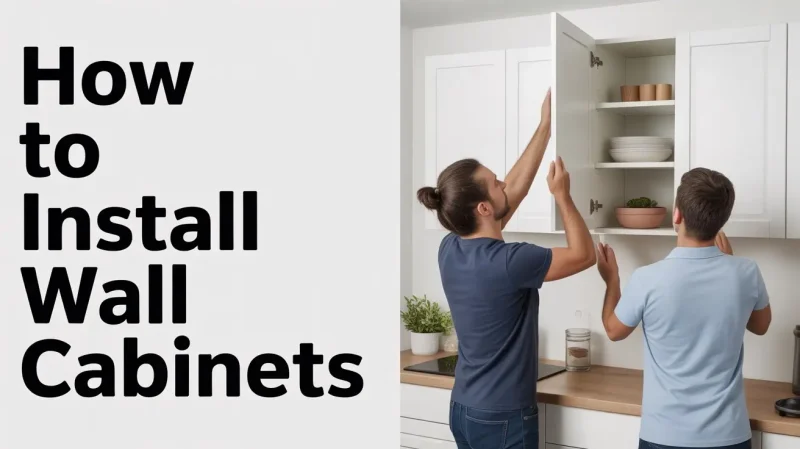
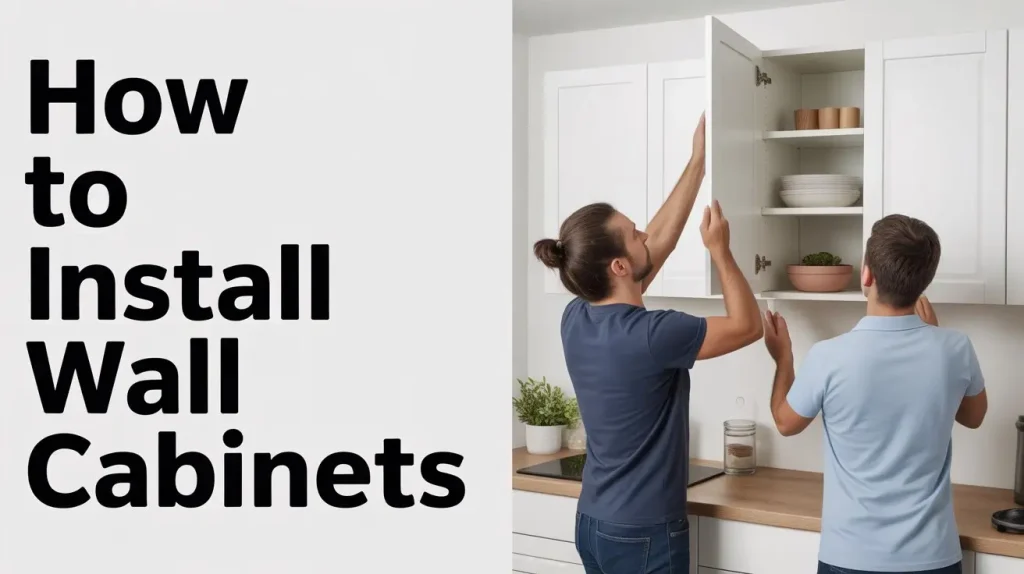
Installing wall cabinets can seem intimidating, but with the right preparation and tools, you can achieve professional results at home. Cabinets not only provide storage but also play a major role in the look and feel of your kitchen, laundry, or garage. By learning how to install wall cabinets properly, you save money, improve durability, and enjoy a clean, functional design.
This step-by-step guide will walk you through the process, from planning and measuring to securing and finishing, so you can get results that look like they were done by an expert.
Content
Why Learning Cabinet Installation Matters
Wall cabinets must hold significant weight, often 100 pounds or more once filled with dishes, cookware, or supplies. Poorly installed cabinets may sag, shift, or even detach from the wall, creating safety risks. Proper installation ensures stability, alignment, and long-term performance.
According to the National Kitchen and Bath Association (NKBA), most kitchen renovations allocate 30–40% of the budget to cabinetry, making it one of the most important investments in your home. Installing wall cabinets yourself reduces costs while giving you full control over placement and design.
Tools and Materials Needed
Before beginning, gather these essential items:
- Tape measure
- Stud finder
- Carpenter’s level
- Drill and drill bits
- 3-inch cabinet screws
- Screwdriver
- Shims
- Clamps
- Pencil and chalk line
- Temporary support board or ledger
- Ladder or step stool
A helper is strongly recommended since wall cabinets can be heavy and difficult to handle alone.
Plan and Measure Carefully
Careful planning is the key to smooth installation. Start by measuring your wall space and marking the positions of appliances, windows, and outlets. Standard wall cabinets range from 30 to 42 inches in height and are typically installed 18 inches above the countertop for easy access.
Use a level to draw a horizontal guideline at this height to keep the cabinets straight. If you want a seamless look, consider style kitchen cabinets to ceiling and check the ceiling height to ensure the top units fit without leaving gaps.
Find Wall Studs for Support
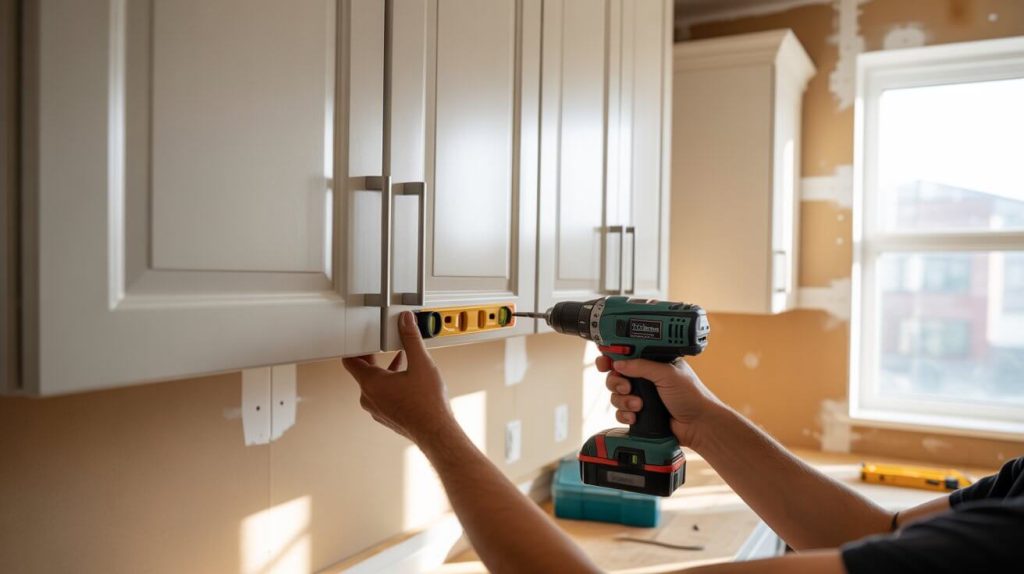
Cabinets must be anchored securely into wall studs. Use a stud finder to locate studs and mark them with vertical lines. Most studs are 16 inches apart. Anchoring only into drywall is unsafe and will not hold cabinet weight.
Install a Support Board
To simplify the process of how to install wall cabinets, fasten a temporary ledger board along your guideline. This support board acts like a shelf, holding the cabinets steady while you secure them in place. It also keeps the units properly aligned, making installation easier and more accurate. Always use screws to attach the ledger securely into wall studs.
Mount the First Cabinet
When learning how to install wall cabinets, always begin at the corner or one end of the wall. Lift the cabinet onto the ledger board and ensure it lines up with your guideline. Drill pilot holes through the back of the cabinet into the wall studs, then use 3-inch screws to secure it firmly in place. Keep checking the level after each screw, as even small errors at the start can create bigger alignment problems later.
Attach Remaining Cabinets
Once the first cabinet is secure, move on to the next one. Clamp the two cabinets together at the face frames, then drill small pilot holes and fasten them with cabinet screws. This method ensures a seamless joint and is an important step when learning how to install wall cabinets properly. Keep checking alignment as you go, and use shims if necessary. Since uneven walls are common, shims play a vital role in achieving a straight and professional finish.
Secure and Adjust
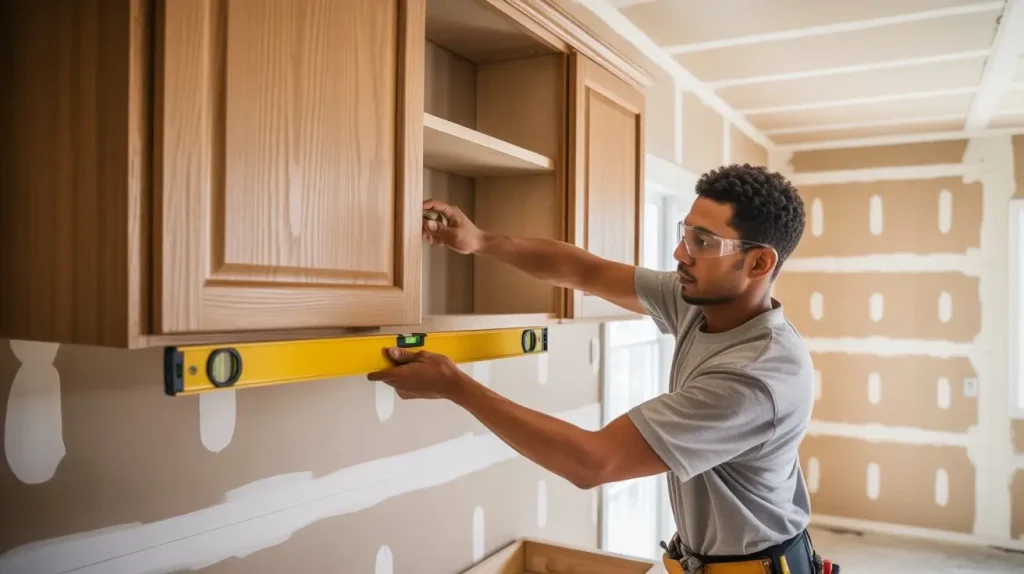
After all cabinets are mounted, tighten all screws into studs. Recheck that doors open freely without rubbing. Remove the support board. Fill visible screw holes with wood filler for a polished look. Reinstall shelves and hardware.
Finishing Touches
For a professional finish:
- Add trim or molding to cover gaps.
- Install under-cabinet lighting for function and style.
- Touch up paint where necessary.
- Wipe down all surfaces before use.
Safety Tips
- Wear safety glasses while drilling.
- Do not overload cabinets until all are firmly secured.
- Lift with help to avoid injury.
- Confirm cabinet weight rating before installation.
Time and Cost Considerations
DIY wall cabinet installation usually takes 4 to 8 hours depending on kitchen size and skill level. Hiring professionals can cost $150–$500 per cabinet, while DIY reduces expenses significantly.
Common Installation Mistakes to Avoid
- Skipping stud anchoring: Weakens the structure.
- Not leveling properly: Creates uneven cabinets.
- Using short screws: Reduces holding strength.
- Rushing measurements: Leads to gaps or misalignment.
Conclusion:
Learning how to install wall cabinets is a smart project that not only saves money but also increases the value of your home. With the right tools and proper planning, anyone can master how to install wall cabinets and achieve professional-looking results. By following each step carefully and avoiding common mistakes, you’ll soon understand how to install wall cabinets the correct way. With patience and attention to detail, you can enjoy sturdy, stylish storage that proves how to install wall cabinets is a skill every homeowner can learn.
FAQs About How to Install Wall Cabinets:
How to install a wall cabinet by yourself?
Use a temporary support board to hold the cabinet in place. Locate wall studs, drill pilot holes, and secure the cabinet with 3-inch screws.
How to anchor a cabinet to a wall?
Find studs with a stud finder, drill through the cabinet back, and fasten with long cabinet screws into the studs for maximum strength and safety.
Do you have to screw base cabinets to the wall?
Yes, base cabinets should be screwed into wall studs. This prevents shifting, ensures stability, and provides a solid base for countertops.
Can cabinets be installed directly to studs?
Yes, cabinets are designed to be secured directly to studs. Anchoring to studs gives the strength needed to hold heavy loads safely.

Viola Moore is a dedicated home improvement blog author who has a passion for writing. She enjoys blogging about all sorts of topics, from interior design to landscaping and more! She loves the outdoors and spending time in nature with her family. She also likes to bake in her free time.

